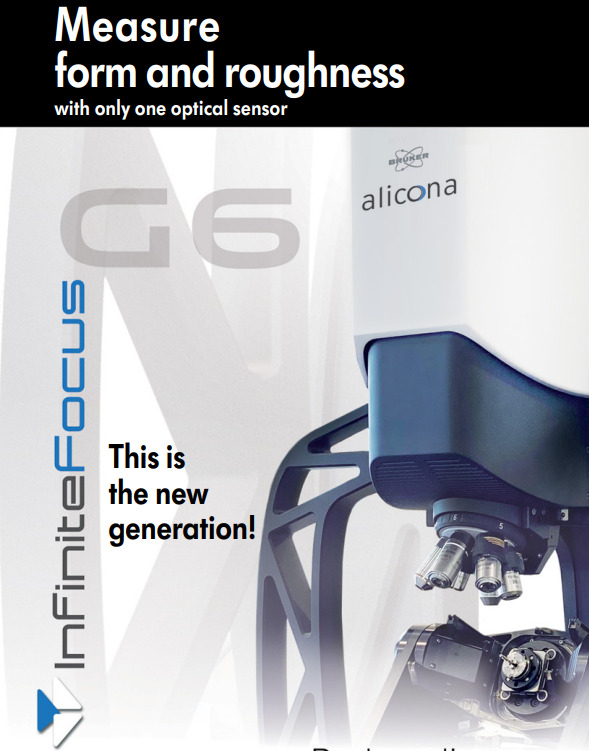
The world of Optical 3D Metrology has advanced enormously since the first commercial FocusVariation system on the market was launched by Alicona Imaging 20+ years ago.
The current 6th generation universal optical 3D measuring instrument has changed enormously since that time and the latest “smart eye” technology allows both dimensional measurement and surface finish measurement using this single sensor.
This latest “smart eye” development has several advantages in terms of measurement capability and the locations where the instrument can be operated as the basic operating principle, and the design of the instrument, is inherently stable meaning that it does not need to be located in or on a vibration free environment. Also, it can be used to measure very smooth and transparent materials, very rough surfaces, high “Z” ranges and a large XY range. It can also be used as a CMM due to the capability to measure vertical walls and inside holes, this has never been achieved before with an optical 3D measurement system.
What is the advantage of a single sensor?
With this development there is generally no need to have multiple technologies built into an optical 3D sensor, this reduces unnecessary complexity, removes the need to understand how to operate and understand the results. It only ever requires a single calibration schedule as the instrument is calibrated to make the measurements required of it.
Use as a CMM
Due to the capability to perform vertical probing (i.e. touching vertical walls with light) it increases the capability of this instrument to operate as a CMM, this again is using the same technology and does not require changing the operating principle or changing sensors


