Dave O’Leary, Quality Director, Accumold
This article examines the role of metrology and validation in a micro molding-based product development program.
It is well understood that for micro molding success, it is important that customers seek out and work with truly vertically integrated micro molding partners. Accumold is a vertically integrated company from the quote, to design for manufacturing (DFM) and Design for Micro Molding (DfMM) assessment, tool design and build, automation design and build, automated visual inspection design and programming, and steel and part measurement. The company has always seen the value in being able to control the tool design and build, molding, and process validation in-house. The real value is being able to work with a customer and react to changes in a project quickly. By so doing, it is possible to control priorities in-house, and there is no necessity to rely on a third party or series of third party when it is important to react in an agile way to product development changes.
NO LONGER A NECESSARY EVIL
The importance of the validation aspect of the offering is often not given the level of importance that it should have, but when you consider the old adage, “if you cannot measure it you cannot make it”, its fundamental role in a successful, cost-effective, and “on time” product development process is obvious.
Measurement should be a central consideration in every quote issued by a micro molder. If a micro molder can make the steel micro tool, and subsequently mold the part, sure as night follows day it will need to be measured. As such, necessarily, process development and qualification — which includes measurement development and qualification — must be included in any customer quote.
Measurement development time, and Gage Repeatability and Reproducibility (Gage R&R) are vital and extremely valuable for micro molding customers, and a micro molder should work closely with the customer on model and print interpretation and DFM — more precisely DfMM — during the product development process. The measurement processes must be assessed and validated as the molding process is qualified. Very often, with measurement taking this central role, it moves from a necessary evil to an enabling technology, and at Accumold the metrology department has been successful helping customers improve their design, re-dimension prints, and better use Geometric Dimensioning & Tolerancing (GD&T) so that the part design is easier to mold, easier to measure, and performs better for the end user.
THE KEY CHALLENGES
Very often in a micro molding scenario, metrology and validation-related issues can be challenging.
Key areas of complexity include part size, part fixturing, print tolerances, and surface roughness.
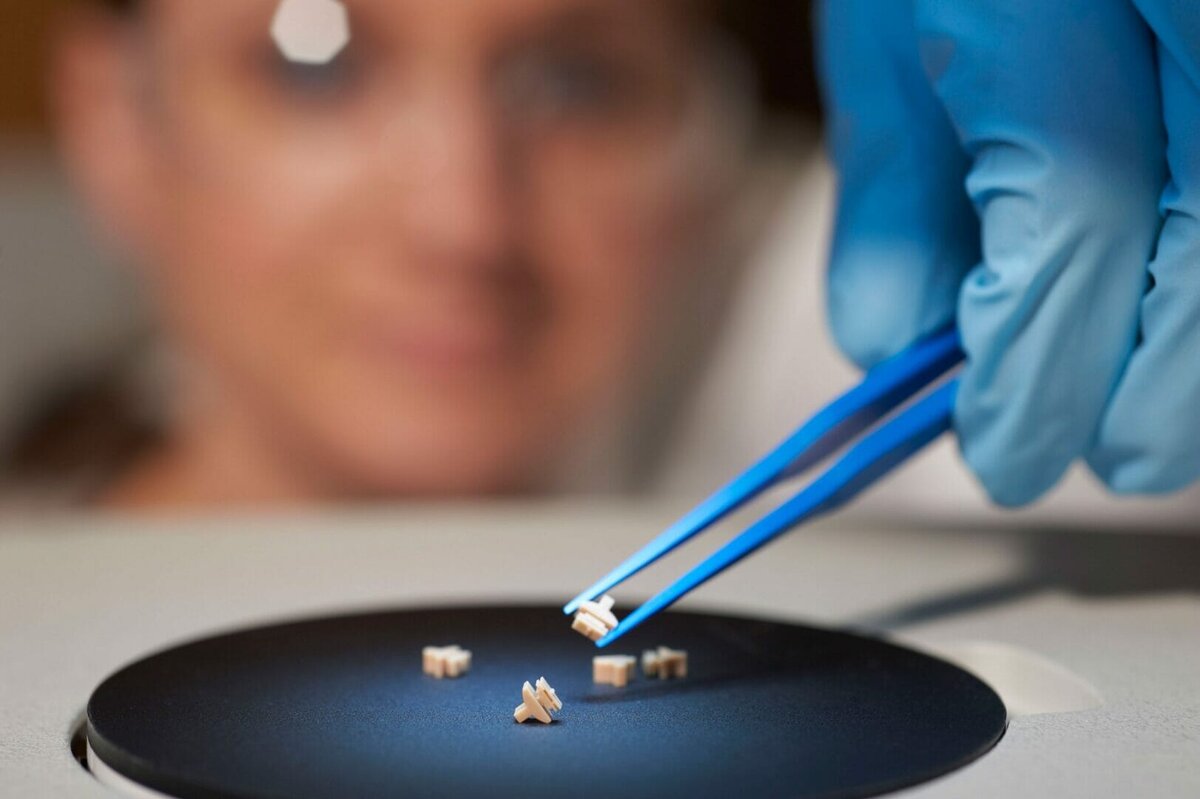
Of these, part size is the key challenge. Micro molded parts can be dimensioned in microns, with features that only become visible under 10x (or greater) magnification. With such small part sizes, metrology methods need to be non-contact such as vision, laser, and white light.
Another challenge is how best to fixture the part that is being measured so repeatable and reproducible measurements can be achieved from program or manual measurement processes. At Accumold, we design and manufacture steel or 3D plastic custom fixtures designed to hold parts in various orientations to ensure we can measure all the features on a part.
Surface roughness is another critical metrology challenge because of the small size and critical finish requirements. Non-contact metrology tools are vital for such applications, tactile tools having the potential to compromise surface integrity.
At Accumold we use several non-contact metrology methods including vision (camera), laser, and white light interferometry. We use Optical Gaging Products (OGP) multi-sensor equipment with vision, laser and touch trigger capability to measure dimensions on mold steel and parts using X, Y, and Z coordinates; GD&T — using Measuremind software (and comparison to the part 3D model using Zone3 software); and ZYGO coherence scanning interferometers to measure fine details including Z heights, 3D surface finish, and lens dimensions. In addition, we sometimes use laser, vision, and white light measurement techniques on a single part based on the part size, feature size, surface finish requirements, and tolerance limits. We are routinely measuring parts with tolerances less than 10 microns.
IN-LAB OR IN-PROCESS
Typically, the conversation when looking at the optimum use of metrology in advanced manufacturing settings today is between its use in the lab or in-process. Ultimately, a key driver for the shift from in-lab to in-process is a desire for a “faster time to data,” and more importantly, the ability to make decisions as a result of that data faster.
Accumold prefers to perform measurements as close to production (in-process) as practical with a metrology system that is repeatable and reproducible. The company continually assesses the metrology requirements during a specific product development process including the number of critical features/dimensions, tolerance requirements, part geometry, measurement systems available (lab and in-process), estimated part volume/run rate, cost of parts, and potential for scrap if measurements are delayed.
With some projects it is important to work with a customer to identify critical features/dimensions, develop a measurement process on a OGP machine, prove the measurement method utilizing a fixture and programs as repeatable and reproducible, buy duplicate OGP machines and deploy the machines, fixture, and programs and trained production personnel to operate the machines and collect data in the production room.
However, sometimes project details require measurements to be done in a lab environment. When lab measurements are required, it is important to establish processes for part handling and delivery, prioritization of part measurements (FIFO, customer promise date, etc…), measurement method (fixture, machine, programs, manual), data collection, and reporting of results to production.
All metrology requirements including equipment (fixture, machines), methods (program, manual), data collection (automatic, manual) and reporting (automatic, email, data load) are included in part specific control plans.
AN ENABLING TECHNOLOGY
Here and now, metrology is truly an enabling technology. The metrology tools available in 2020 are far superior to those that we had at our fingertips even ten years ago. Today, the technology we use provides invaluable insight concerning the demanding micro size tooling and parts required to meet customer needs. Metrology equipment and skills are used to measure steel details in the mold, part features/dimensions to ensure the parts meet print tolerance, and to ensure we have a capable process. Intense design of experiments, stress runs, operational qualification and production qualification runs are undertaken to assess dimensional capability to our internal or customer Cp, Cpk, Pp and Ppk requirements to values of 1.0, 1.33 and 1.67 as required for the project. Using the metrology equipment and expertise in house at Accumold, we can provide data and immediate feedback that help determine if steel in the mold is acceptable or if adjustments are required.
Metrology technology is constantly evolving and it is important to actively assesses new technology with online/onsite or remote demonstrations. We utilize automated vision inspection (AVI) on the press, on robots and in our metrology equipment. We have state of the art vision and laser measurement capability and white light interferometer equipment that is non-contact to measure micro features and surface roughness. The expertise and experience in our design, mold and automation build, production/process, and quality assurance personnel is critical to success.
OPTICAL METROLOGY
There is no doubt that industry’s perceptions of optical metrology systems have changed in recent years, and its uptake is growing substantially year-on-year. There are obvious reasons for this, key among which is its ability to measure without damaging surfaces or features on sometimes delicate components. However, optical metrology also stimulates the move to greater automation in manufacturing due to its inherent speed when compared to contact systems, and also the fact that it can quickly undertake full-field measurement rather than focusing on specific part features one at a time.
At Accumold, we use ZYGO optical profilers, a NewView 7300 and a NewView 8300. We use both machines to measure 3D surface roughness, lens characteristics to an aspheric lens equation, and critical Z height dimensions. The data we get from the ZYGO equipment has been critical in proving our molding and measurement capability to very demanding customers. We have also shared the data available from the ZYGO tools with customers so they can do their own analysis in other software such as MATLAB or MountainsMap.
The main reason for selecting ZYGO was the ability to accurately measure parts made from clear resins and other high temperature resins used to mold lenses. The competing technologies struggled with clear resins, and a few didn’t generate the data necessary that we needed for analysis. One device required us to spray the surfaces of clear resin parts which was not optimal because the opaque coating changed the dimensions of the part.
We are in the process of working with ZYGO to develop a lens specific application in the Mx Software which gathers and analyses the data from their coherence scanning interferometers. Accumold has shared part design details, mold details, current metrology methods, and participated in a couple of online meetings to discuss our current difficulty with lens aspheric measurements.
In the past, we also worked with ZYGO to develop several specific measurement routines on the NewView 7300 when the device was new, and we were still unfamiliar with the capabilities. We still use the routines today and use these for internal training and new routine development.
Working collaboratively with metrology suppliers in this way is the future, and will ensure that technology evolves with market and customer needs.
SUMMARY
The central role of metrology in a vertically integrated micro molding company is obvious and central to overall product development success. Metrology is now a powerful enabling technology, and has a key role to play in the timely and cost-effective production of often exacting end-use parts and components.


