~ How to minimise your quality issues ~
Fasteners play a crucial role in an assembly — yet quality standards are often overlooked by many businesses. If a fastener is not made to specification, manufacturers may be unable to assemble their products, facing long lead times before the right parts arrive. In a worst-case scenario, manufacturers risk sending poor-quality products out to the market, risking loosening or component failure. This would result in product recall, an expensive, extensive and embarrassing process, which can significantly damage a company’s reputation. Here Brian Vince, group quality manager at fastener specialist TFC shares insight on common fastener problems, and how to avoid them.
There are numerous reasons a fastener may not meet the required specifications. Perhaps there was a mix up during picking or labelling, and the fasteners have been delivered in an unmarked or incorrectly labelled bag. Maybe the wrong ISO standard of part has been delivered, or the material is not tempered when it should have been. Many common errors are almost impossible to detect with the human eye, so what can we do to be sure our fasteners are the right ones for the job?
Check your measurements
The most common problem with fasteners is that they don’t match the drawing — the dimensions, thread, head or length is incorrect. This is a relatively easy issue to pick up, taking a measurement using a vernier or a micrometer will identify around 90 per cent of problems. If needed, the next step would be to measure the component using a shadowgraph, which illuminates a shadow of the component that can be zoomed in on to identify any non-uniformities. Quality teams can also use thread gauges or a shadowgraph to check a fastener’s thread.
Finishing
Many fasteners are coated to improve their resistance to corrosion, temperature or friction. For example, powertrain fasteners in a vehicle are commonly coated with zinc to enable them to resist corrosion, heat and oil. Polytetrafluoroethylene (PTFE) coating is common in the aerospace and oil and gas industries as it is lightweight and provides high-corrosion resistance. Quality professionals should assess whether the coating thickness is uniform across the fastener and within stated tolerances — if it is not, the part could cause problems later on.
Hardness testing can also detect quality issues. Quality specialists can assess tensile strength and perform flexure or compression tests to check the material has the desired properties. This will prevent a fastener from going into an application where it is too hard and will snap, or too soft and will bend.
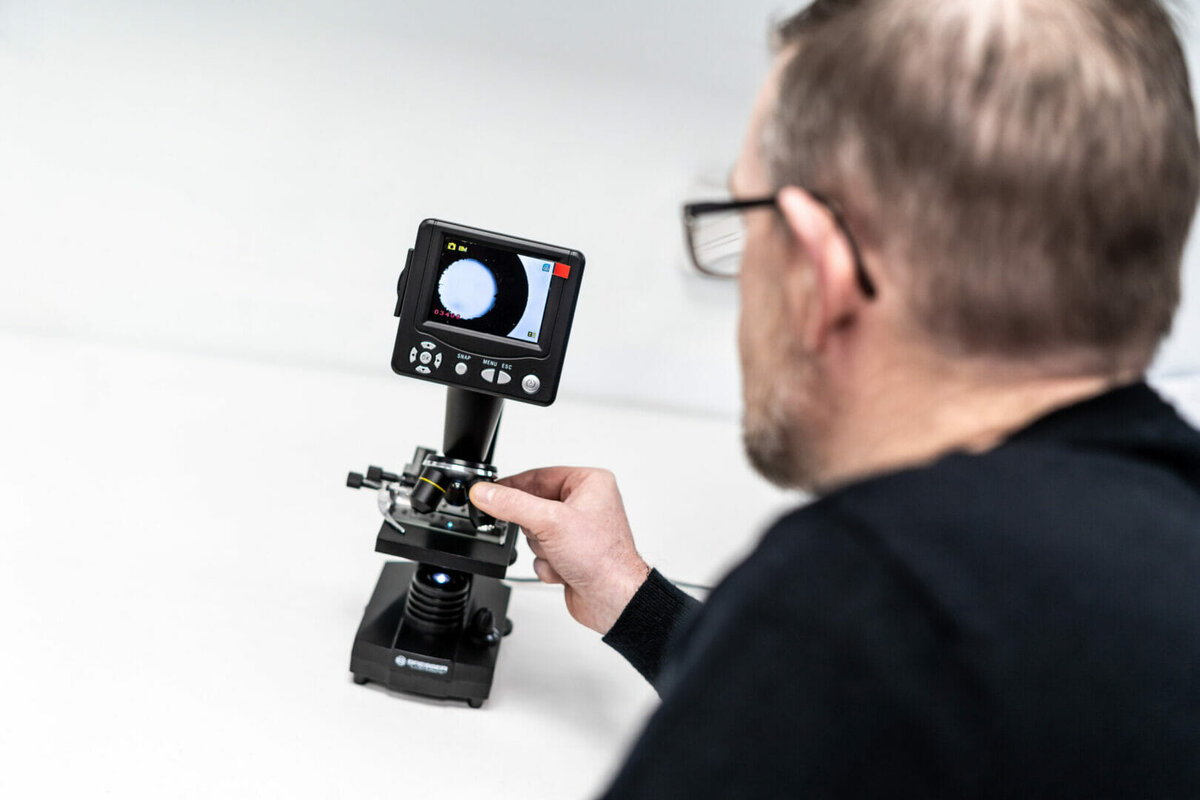
Dependent on the component at hand, other tests can be performed, such as load testing for springs, checking the hardness of rubber parts with a durometer, or testing the smoothness of bolt. If all testing is coming up fine, but a manufacturer experiences problems with quality during assembly, inspecting the part under a microscope means you can interrogate the problem at a very granular level to identify what is wrong.
Material
To check that the fastener is made using the required material, quality professionals can use positive material identification (PMI) testing. This technology analyses the full chemical composition and grade of a metal or alloy, which means that the manufacturer can be confident that the material’s properties match specification. Material identification is particularly important in the oil and gas sector, where a material mix up could lead to catastrophic failure. For example, a stainless-steel retaining ring in a subsea drive shaft, instead of specified Inconel X-750 could mean drilling operations are forced to halt months before schedule.
If all testing confirms that the part is to specification, it may be a design issue that is causing quality problems. In this case, your supplier may be able to suggest an alternative option that will be more suitable for the application.
Re-engineering
There is another benefit to having access to all this kit. As well as checking the quality of a fastener from a supplier, testing methods can be used to help re-engineer a component. For example, if you are not sure what material your fastener is made of, PMI testing could identify the material. Combining this with measurement techniques that provide the physical characteristics of the fastener could enable you to work backwards to identify an alternative part that would work in the same application.
While the majority of fastener manufacturers have the equipment to fully interrogate fastener quality, not all distributors possess the same advantage. If there is a non-compliance report, it pays to work with a distributor that tests in-house, rather than outsources, as external quality testing can take four to six weeks compared with next day.
Communicate and collaborate
To make sure they have the best possible chance of fastener success, manufacturers should be rigorous with their suppliers — ask to see their certifications and establish what quality measures they have in place. A good starting point is ISO 9001, but there are other ISO and AS standards, as well as OEM approvals and lot traceability certification you can check for. Certain industries have more rigorous certifications, such as Aerospace AS9100:2016/9120:2016 standards (AS 9100D and AS 9120).
Good communication and full traceability between distributor and supplier is crucial. Consolidating your suppliers into one vendor managed inventory partner, or reducing the number of vendors, will make managing quality more straightforward.
TFC does all quality testing in-house to make sure that customers are receiving the correct parts, to specification.. We proactively check parts, so our customers don’t have to.
Anything we forgot? If you need a supply of fasteners checked in a way that we didn’t mention, let us know. TFC is always happy to add equipment to its test lab to meet customer needs. For more information, visit https://www.tfc.eu.com/.


