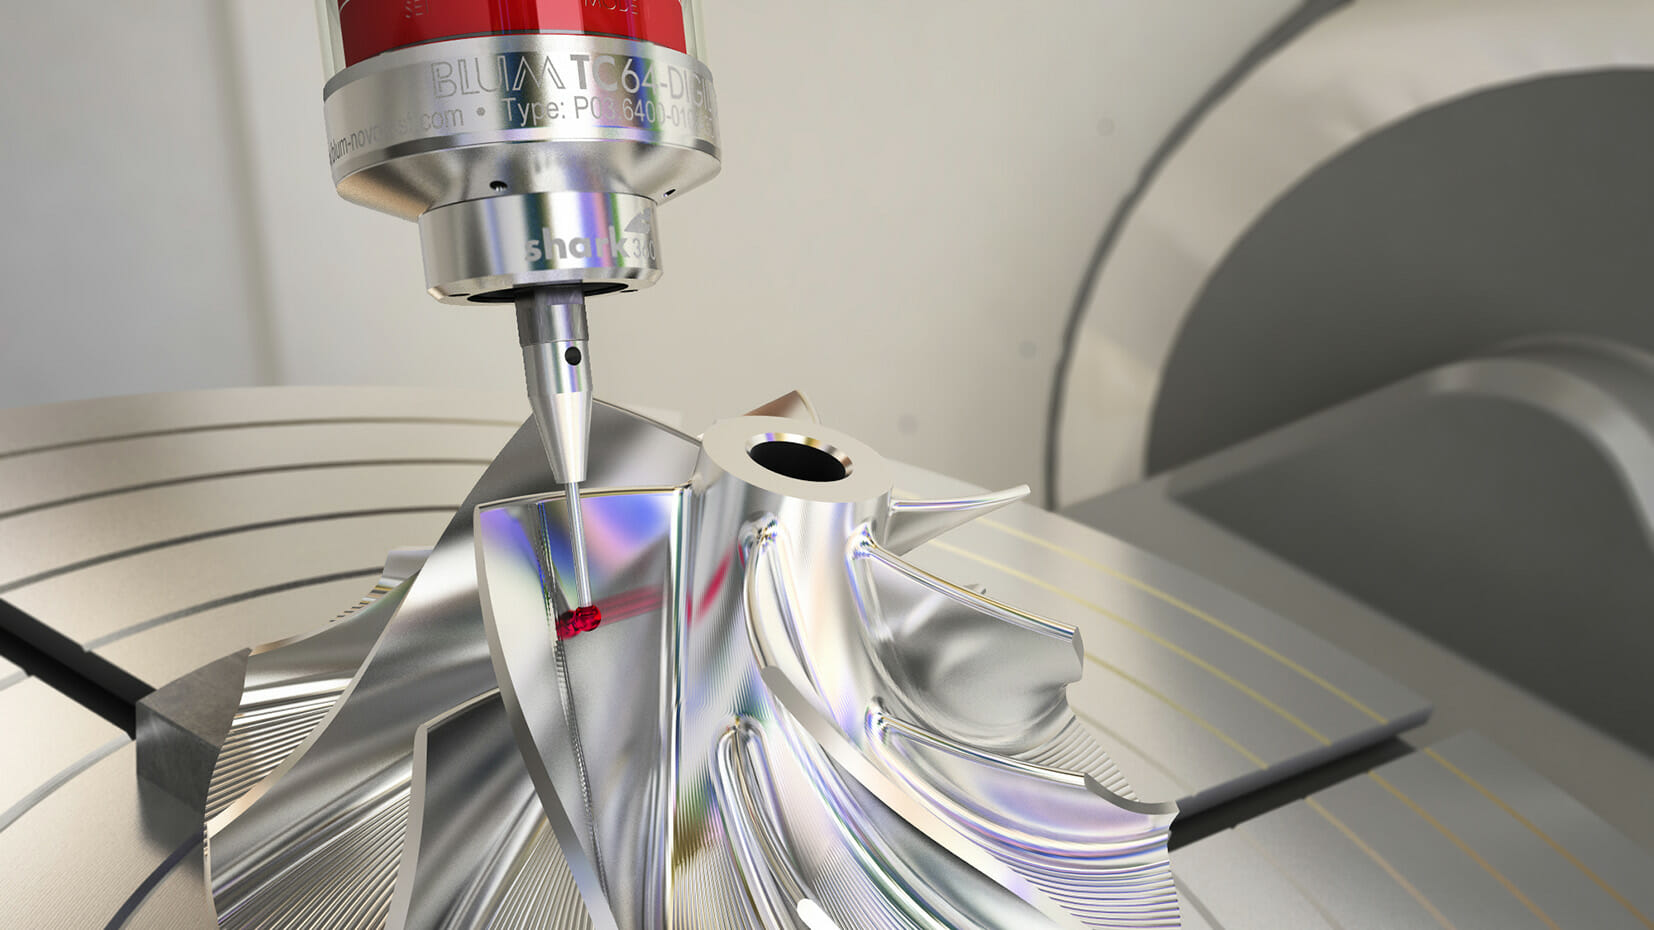
Adaptive Machining is fast giving manufacturers a ‘golden opportunity’ to secure greater control, speed and accuracy when setting tools and controlling workpieces according to a leading manufacturing boss.
David Mold, Managing Director of Blum-Novotest, has seen a 25% rise in demand for his firm’s ‘in-machine’ probes and laser systems since the launch of LC50-Digilog, with the new technology now in place in some of the world’s largest aerospace and automotive companies and tens of sub-contract manufacturers.
The boss of the metrology specialist believes industry has finally realised that it can no longer stand still with the way it controls the production process, especially companies that are making their living out of cutting and shaping metal.
“Adaptive Machining has been around for some time and is basically about being able to measure and control the three main variables in the machining process, which are the cutting tools, temperature and the workpiece itself.
“Controlling these variables on the machine reduces the tried and tested method of setting tools off the machine or taking the workpiece off the machine to make the measurements on a Co-ordinate Measuring Machine (CMM).”
He continued: “By utilising on-machine tool setting systems means you can quickly tell if a tool is slightly off, meaning you can reset or change the settings immediately before a component is damaged or ruined.”
Blum-Novotest launched the LC50-Digilog last year, the next generation of the laser and the latest addition to the hugely successful DIGILOG family.
This new technology evaluates the analogue signal rather than the digital one, taking thousands of measuring values of all cutting tool edges per second, resulting in highly dynamic measurement of all tool parameters.
In essence, this breakthrough is 60% quicker than conventional in-machine measuring.
Other benefits of LC50-Digilog include:
- Digilog calibration – due to more tool data you can accurately measure tools whilst eliminating coolant or dirt on the tools or in the machine, providing higher accuracy than ever before
- Spindle or tool run-out can be measured accurately and incorporated into the measured result
- Premium laser optics – higher grade laser diode provides much higher accuracy achievable
- High pressure tool cleaning nozzle provides much better cleaning functionality of the tool. This equates to a reliable system, more accurate measurements/less effects of coolant or swarf.
David concluded: “The challenge now is to continue to advance the technology and we have already made breakthroughs in adding six applications to LC50, including ProfileControl (complex tool geometries), GrindControl (grinding wheels/tools), Orientate Tool (for engraving type tools) and Chamfer Control (measurement of chamfers).”
For further information, please visit www.blum-novotest.com or follow @Blumnovotestuk on twitter.


