(Rostock, Germany, 8th August 2023) The density determination of additively manufactured parts is crucial due to its impact on the structural integrity and performance of the components. Accurate density assessment enables manufacturers to ensure the quality and reliability of the parts. It also helps to identify defects, porosity, or voids within the material, which could compromise the strength and durability of the final product. By measuring density, manufacturers can verify if the additive manufacturing (AM) process has been executed optimally, guaranteeing that the parts meet the desired specifications and adhere to industry standards. Precise density determination plays a vital role in quality control, enabling efficient detection and rectification of any issues, ultimately leading to enhanced product performance and safety.
With this in mind, the Fraunhofer IAPT, Hamburg, Germany commissioned an independent study of the various AM density determination technologies available, and found that the automated density determination from Dimensionics Density is particularly recommended in areas where a statement on the density has to be made quickly or frequently, and the company’s solution allows machine approvals to be simplified, and thus the costs for quality assurance can be reduced.
The Fraunhofer report, entitled “Analysis of measurement methods for density determination in additive manufacturing” [DOWNLOAD HERE] in addition to the Dimensionics Density technology, also reviewed the use of micrographs, computed tomography, and the manual Archimedes method.

All methods are basically capable of determining the relative density of AM parts and components, but the Fraunhofer IAPT report found that there are substantial differences in accuracy, resolution, repeatability and the possibility of defect detection. Micrographs destroy the AM specimen, and while they can provide partial insight into the actual condition of pores in a part, the process is characterised by a lot of manual work, adding time and cost and relying on a high degree of expertise.
Computed tomography (CT) similarly requires the use of expensive expert operators, and while it can provide a realistic 3D image of the internal porosity of a part, it is restricted in the pore size that it can detect, and the price of CT equipment can be prohibitively expensive.
The Archimedes method is the easiest to use but can be the least accurate as it can be negatively impacted by changing environmental conditions, the accuracy of the balance, as well as the precision of the experimental procedure. It is difficult to reproduce the results, which are strongly influenced by human factors. Test specimens are never placed exactly the same on the balance, and the manual operation of the balances leads to measurement deviations.
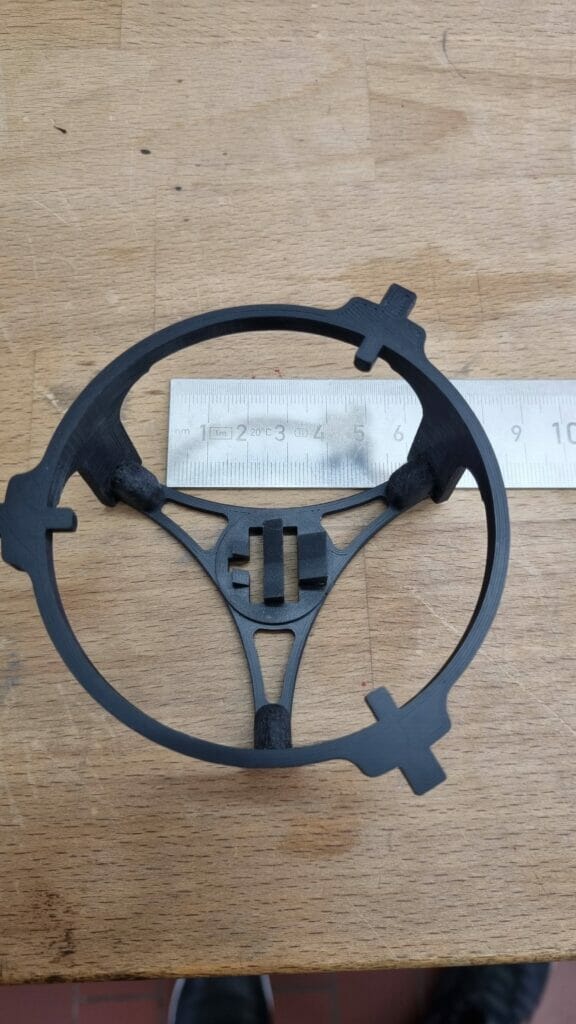
Philipp Pruesse, Head of Sales at Dimensionics Density, says: “We are extremely encouraged that the Fraunhofer IAPT report recognised the advantages of the automated density determination process that we produce. Our process uses the Archimedes method mentioned above, but in combination with modern automation technology. The samples to be measured are placed in a special component carrier, which is provided with openings on the underside. These component carriers are transported through the system by an axis robot and thus lowered centrally and precisely onto the scales. On the scales themselves, a lift-out rack with pins is placed, which lifts the component over the openings in the component carrier and thus lifts the component out of the carrier. The automated handling eliminates human influence on the measurement, as the parts are always placed identically onto the scales. The scales are designed to be insulated from vibration. In addition, all ambient conditions such as temperature, air pressure, and water temperature, are recorded via climate sensors, and their influence on the measurement result is taken into account directly in the evaluation algorithm when determining the density.”
The Fraunhofer IAPT benchmarking report states that Dimensionics Density’s automated density determination removes the user from the Archimedean measurement and therefore has a significantly higher repeatability and lower fluctuations. It states that this method is the only one that is traceable, so it can be referenced to a recognized standard via a measurement chain. Compared to micrographs and CT scans, the measurement time is also much shorter, making it easier to take multiple measurements for greater statistical confidence, and this makes this method suitable for evaluating the process capability of machines. Establishing the process capability of machines is an essential step for the production of series components via AM. It is continuously determined by external influencing factors, such as temperature. These influencing factors are included and compensated for in the density calculation, which means that operation in environments without laboratory conditions is also possible.
Pruesse continues, “Dimensionic Density’s automated density determination solution is poised to revolutionize the analysis of component density, and we are delighted that the Fraunhofer IAPT report recognises its importance in the critical area of AM production part / process validation. Its unparalleled accuracy and efficiency will help identify and mitigate porosity-related issues, bolstering the mechanical integrity, durability, and resistance of AM parts against external stressors and environmental challenges. Users will be able to elevate their manufacturing processes to new heights and unlock the true potential of AM for validated AM components.”


