Traditionally, cylinder bores surfaces in cars were like the Himalayas — lots of peaks and troughs. When piston rings went up and down, this would slice the tops of these off, so manufacturers made the bores tight to pre-empt this. Consequently, in the past motorists need to “run-in” their engine, limiting its speed for the first thousand miles or so. While the automotive world has moved on, this is an early example of how manufacturers recognised the value of surface characteristics. Here Mike John, technical director at The Sempre Group explains the importance of surface roughness and how to get the most out of this data.
Surface roughness often dictates how one part interacts with another. For example, if a shaft is rotating inside a bearing, a rough surface is undesirable because it causes excess friction. Meanwhile, a smooth and round surface ensures optimal performance by minimising resistance. If turned parts have the wrong surface characterisations, they could wear out, get bigger, smaller or rattle around.
In the automotive sector, surface texture is vital for anything that rotates in an engine. For example, camshafts will sit on a white metal bearing, a smooth object with a coating, and oil will produce a frictionless surface. However, if the surface roughness is poor, this will cause metal-to-metal contact. Consequently, the part will wear quicker, and irregularities in smoothness can produce nucleation sites where breaks and corrosion occur.
Measurement in action
On the shop floor, most engineers and manufacturers use roughness average (Ra) to measure change in process and understand micro- and macro-level geometric irregularities. The Ra will tell them if their tools are wearing out and producing different surface characteristics over time. Armed with this information, they can decide whether to make a tool change to remain within spec.
Ra won’t give the full picture, just an average. It assigns a value to the deviation away from a median height — say, on an engine’s crankshaft — but says nothing about the direction of surface performance. Knowing what parameters will provide the required functionality of the surface is the first step. For instance, manufacturers can use plateau honing to create a metallurgically stable microstructure on the wall of a cylinder bore. Then, they can characterise the peaks and troughs as a number using skewness (RSK) and determine whether this is positive or negative. Automotive manufacturers will often use three or four characteristics, including Rz and response surface methodology (RSM).
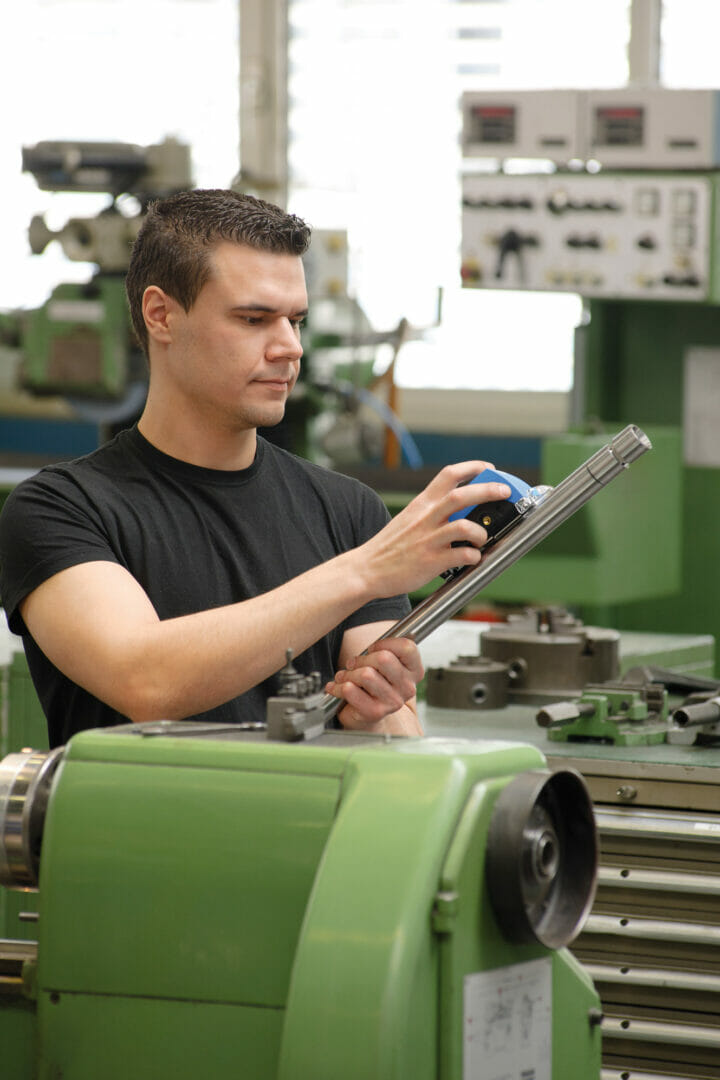
There are two methods of finish measurement — skidded and skidless. Skidded stylus systems are ideal for simple measurement of high-frequency surface roughness, while skidless technologies are better for low-frequencies ripples, waviness and surface profiles. For example, the Jenoptik Waveline W5 features a skid situated by a stylus. The skid drags along the surface to remove the need for a straightness reference, removing added costs. The system can measure up to 28 parameters and includes a changeable probe and guide system for adaptability.
Data collection
Most engineering drawings specify the required dimensions and surface texture of turned parts. Following measurement, manufacturers can compare their system’s output against the initial spec to determine compliance. Despite its importance, most manufacturers don’t tend to gather their surface roughness data or store it effectively. It’s often treated as a tick-box exercise and, providing it’s within spec, many don’t give it a second look.
However, automated solutions can help manufacturers gather surface roughness data and export it easily. For example, using High QA Inspection Manager, they can scan entire drawings, or multiple pages, in one click and automatically extract surface roughness data. The process is fully automated, enabling total traceability.
The automotive industry has come a long way from tight cylinder bores, but surface roughness is still as important as it ever was. Knowing how to measure surface characteristics accurately and then capture this data is vital for ensuring part efficiency and functionality.
To find out more about Jenoptik optical shaft measurement systems, visit the Sempre website.


