Eric Felkel, Product Manager (Optical Profilers), Zygo Corporation
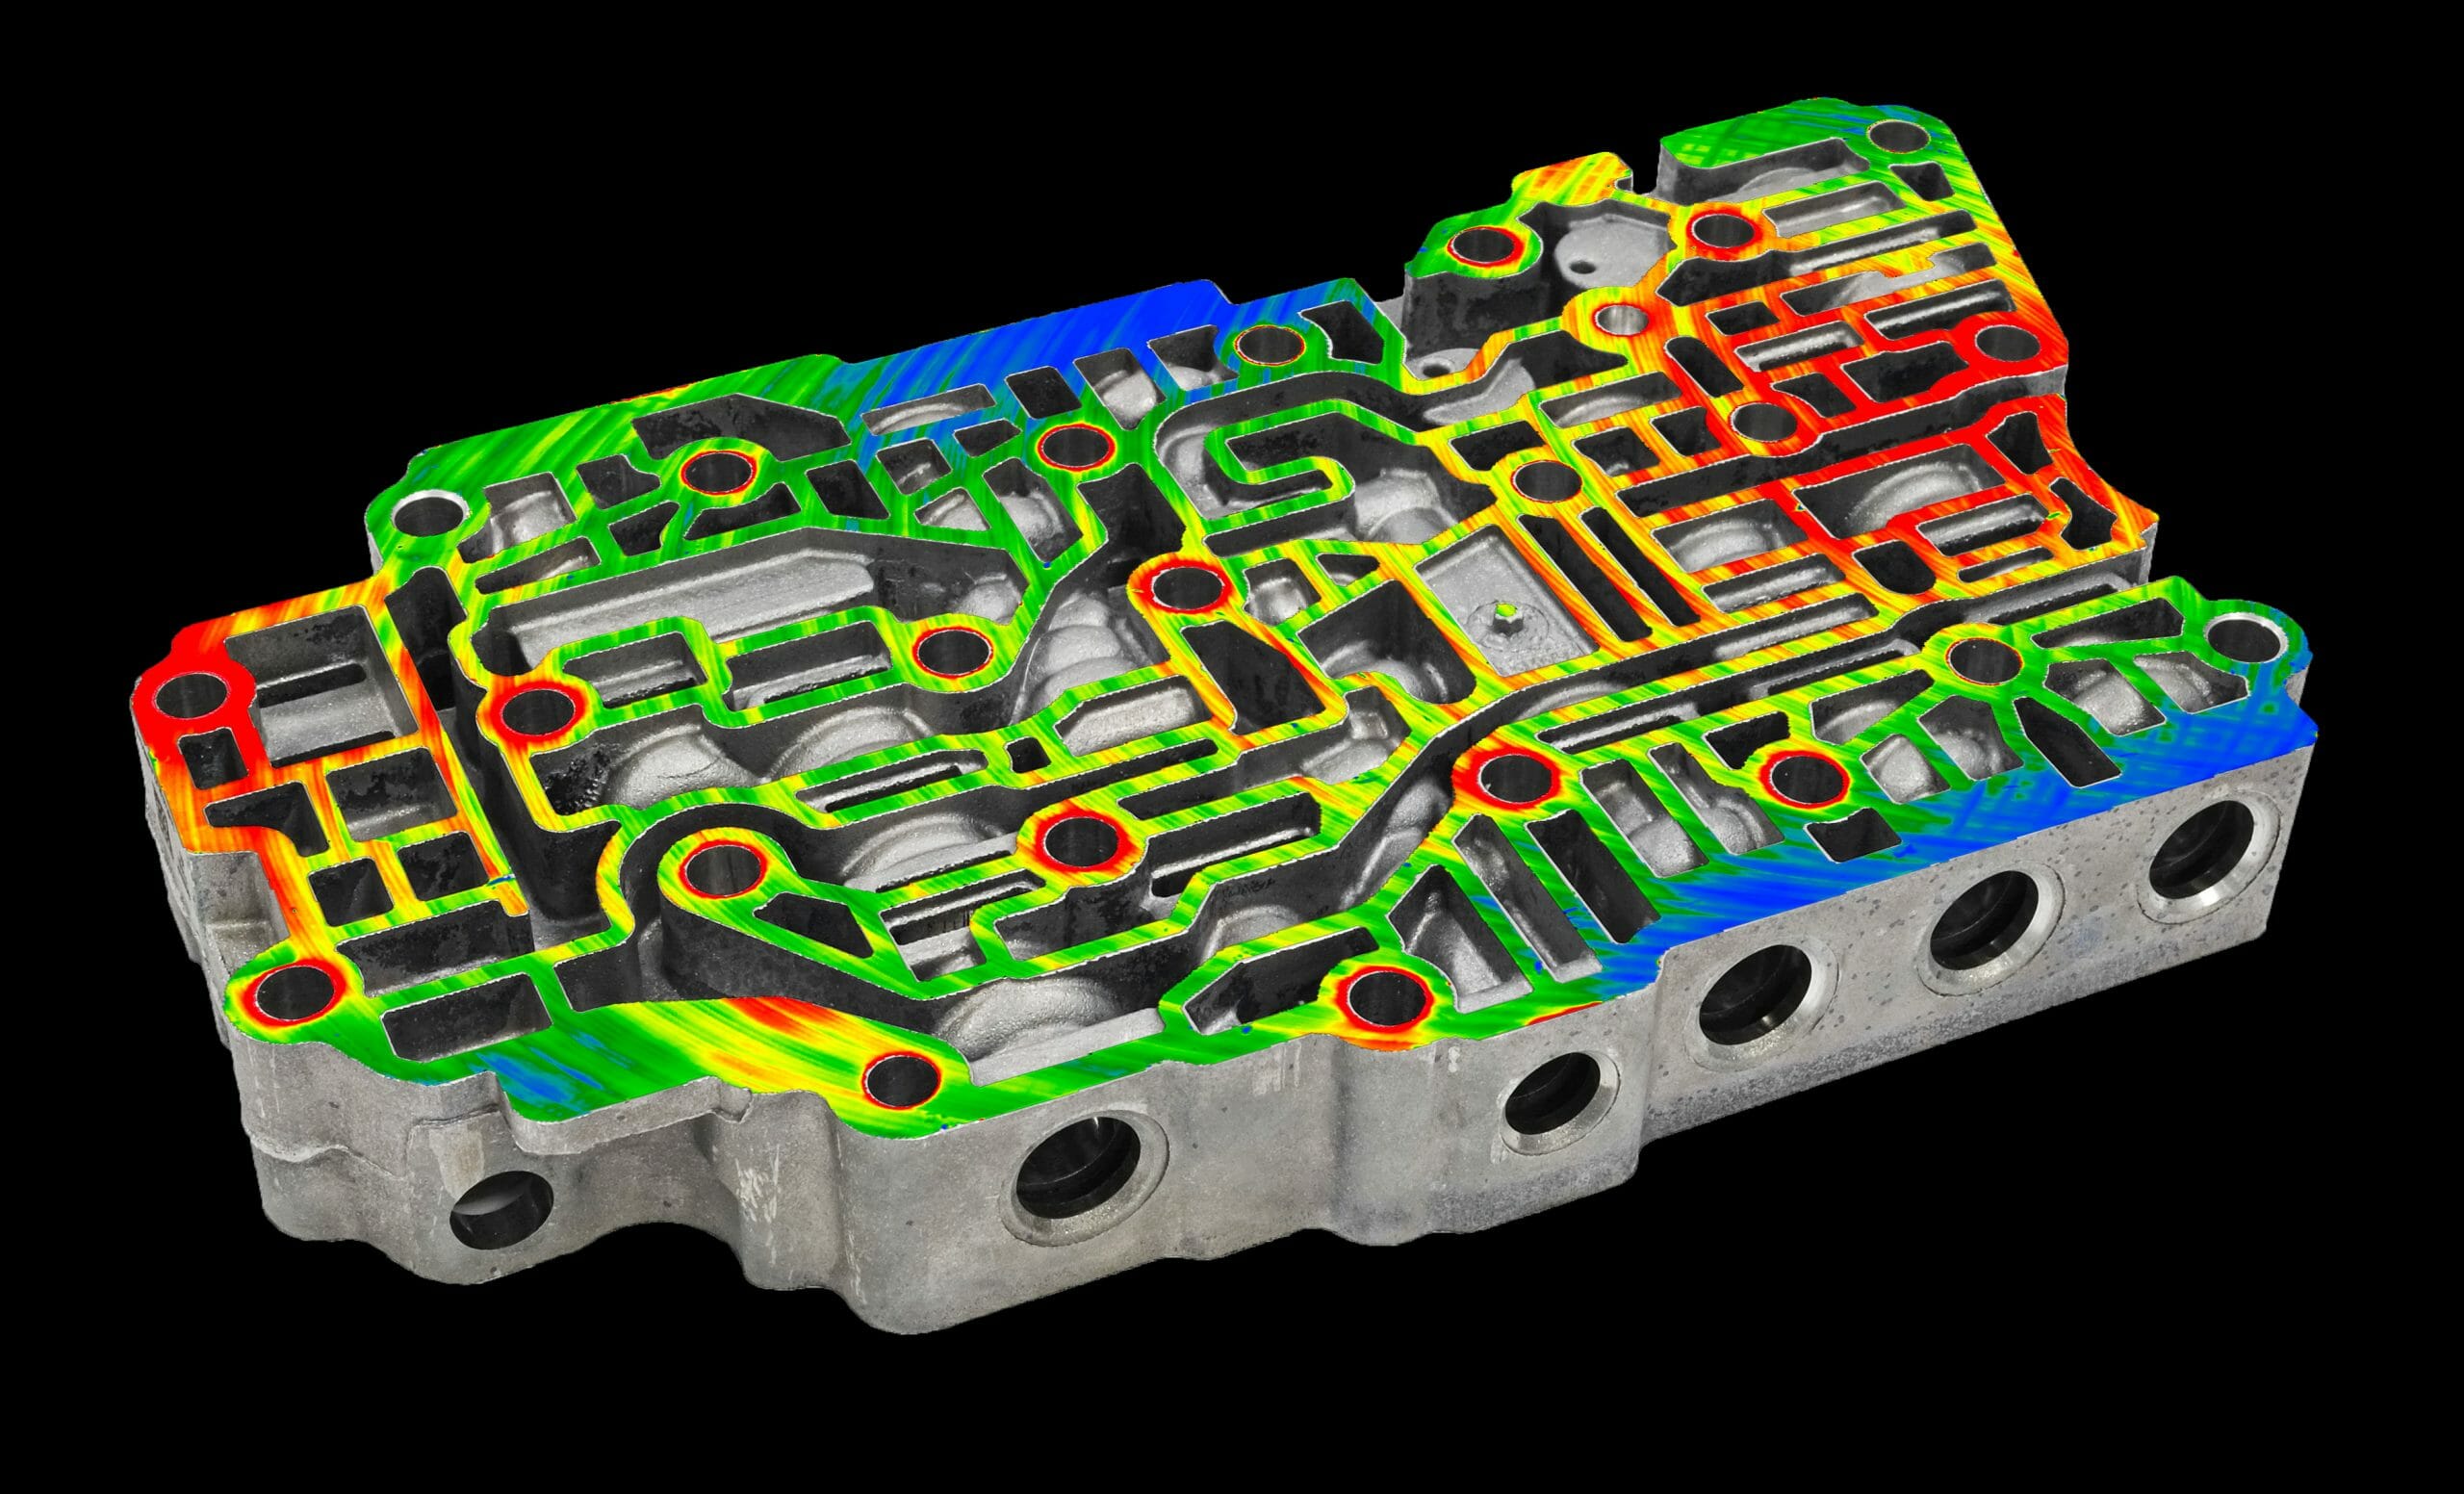
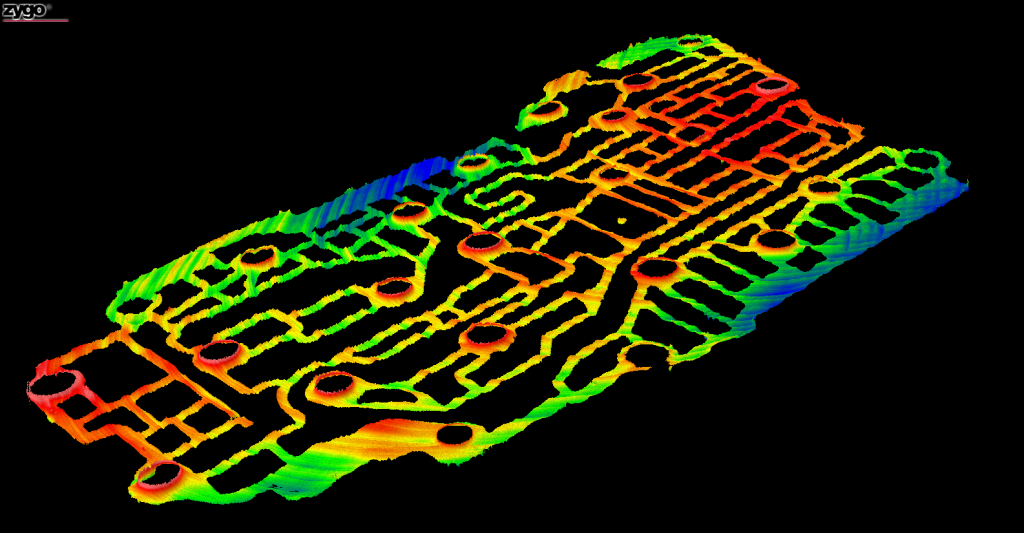
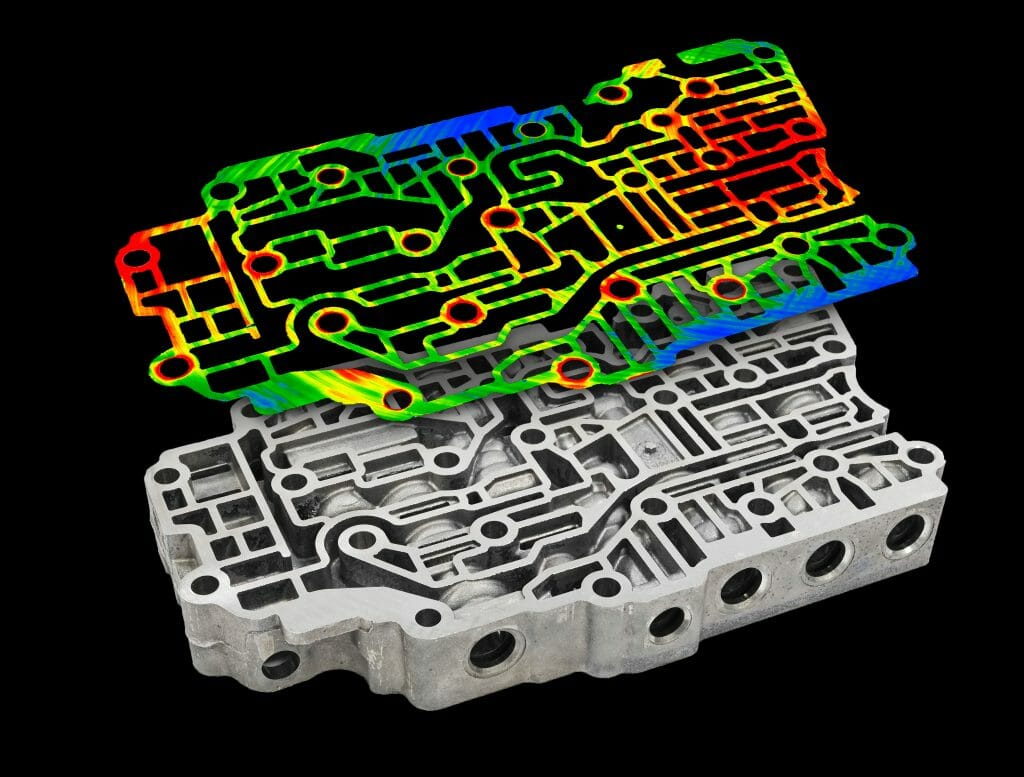
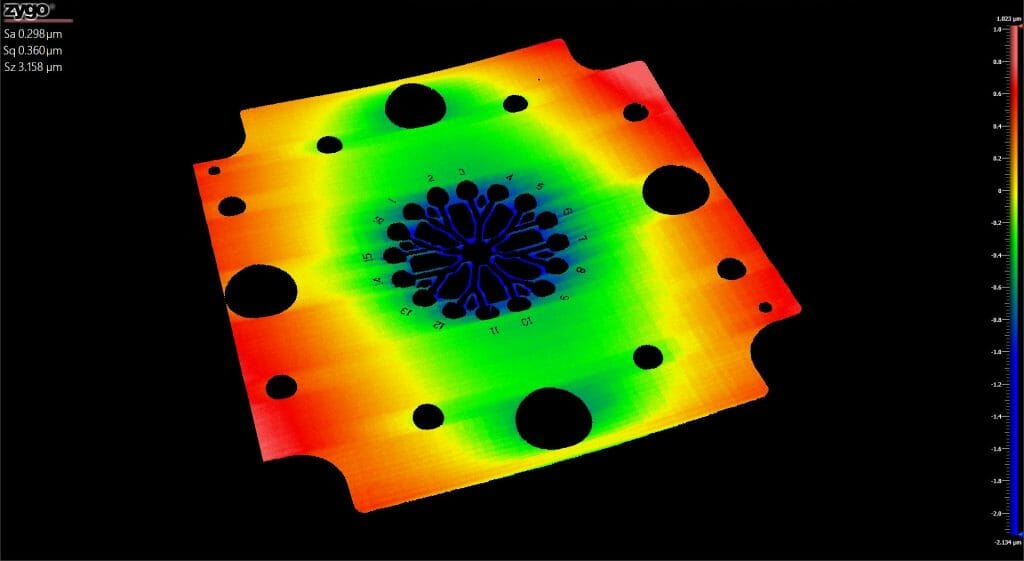
ZYGO caught up with Dr. Mark Malburg of Digital Metrology and Carl Musolff of Musolff Consulting to discuss how to get the most out of surface parameters. Their years of front-line experience provide valuable insight into precision manufacturing processes, and why choosing the right type of metrology (and examining the correct parameters) are critical to controlling the manufacturing process. During the discussion, they covered the considerations when implementing surface texture specifications on engineering drawings. They also discussed why an understanding of the function of a part can contribute to more effective and reliable manufacturing processes. A key takeaway is that data is more than just numbers. For example, 3D surface maps generated by ZYGO’s range of 3D optical metrology instruments provide a wealth of information and insight into the surface and what is likely happening during the manufacturing process.
There are many different ways that designers currently specify surface texture parameters for their parts. Some specifications are good, some not so good. Some are sophisticated, some quite basic, and while all are used by today’s manufacturers, it is fair to say that some are less useful than others.
SPECIFICATION ALTERNATIVES
At the least sophisticated end, design engineers may have already made, specified, or designed a component with a similar function or in a similar environment to the new product under development. So saying, they simply copy the old engineering drawings, working on the basis that they are close enough, and so use the same surface texture parameters and the same limits.
When the environment is a little more demanding, design engineers may chop the limits, which is quite a hit-and-miss approach that sometimes works, and other times doesn’t. In other instances, they may draw on the capabilities of outside suppliers. For example, if the design is a shaft with an O-ring in it, the obvious route is to talk to the O-ring specialists, as they have considerable experience concerning the surface texture parameters that will work.
For some applications, the decision may be to do some modeling. This does not work very well when looking at roughness — as modeling capabilities aren’t able to handle roughness — but modeling is better when looking at waviness and form. This is especially the case if looking to make two complex components, for example gears, or bearings, or camshafts. It is possible to model the interfaces and develop some pretty good estimates of surface texture profiles that will work.
Probably the most demanding and “top-end” way of specifying surface texture parameters is testing. Basically, if a functional test can reproduce the environment and the operating conditions that the final design will go into, then parts can be measured beforehand and measured afterward in that test. As a result surface texture parameters can be selected that can separate the functional parts from the non-functional, or the ones that work well and the ones that may fail early. Testing can take a lot of time and many resources, but when finished, product designers have a set of parameters that you can be relatively comfortable with.
In the real world, most specifications are carry-overs. Musolff comments, “The most common parameters for surface texture roughness are Ra and Rz, and they are not very good for defining function. But they are used, I won’t say everywhere but almost everywhere. They are the parameters people know and are used to, and so they are included on a drawing whether or not they really work, whether they really define a function or not.”
Malburg adds, “That’s what I’ve run into as well. Drawings are often just copied and pasted from a previous version, and there isn’t any knowledge going into the specification. I’ve had customers with tolerances from the 1960s and 1970s, but processes have changed and they can’t meet those limits, and if they did meet them the surface wouldn’t work. The copy and paste and copy and paste of some handwritten note becomes the contract!”
ARE SURFACE PARAMETERS WORKING?
This leads to the issue at the heart of surface texture parameter specification. How do we know the parameters being used are the correct ones to use?
Musolff says, “On a most basic level, it is possible to see that surface texture parameters are working by looking at them. If you look at a system where there is wear between one part and another, you may see bands or stripes on a surface which is going to be waviness. With roughness, you’re not going to see stripes, the wavelength isn’t big enough, but if you see stripes you’d better have waviness parameters included in your specification. I think it’s a question of using logic. For example, if you have a gasket sealing against liquids, it’s likely if it leaks it’s probably not a roughness issue, especially if the liquid is fairly viscous like an oil. If you have leakage, it takes some area for that fluid to pass through which again tells you something about waviness more than roughness.”
Malburg comments, “To the question ‘are the parameters the correct ones,’ often they’re not. The surface texture parameters that tend to be used are easy to measure and available. For example, if you are trying to control friction, there isn’t a friction parameter, so you will look instead at roughness. If you are trying to control appearance, there isn’t an appearance number, so you will try to come up with a number that you can measure that sort of relates to it. I think we’re improving when it comes to parameters that describe features better. But often we’re measuring what’s cheap, affordable, and traceable. We measure height because we can get a national standard for height even though height doesn’t matter to friction.”
The role of good metrology is to work creatively when no parameter can describe the surface. The options available are really quite substantial, and the key is to get additional information out of the gauges used. Design engineers need to determine what is coming off a metrology system and be able to analyze the data effectively.
Malburg comments, “You can see so many things in the data, but one of the most important lessons to learn is the ability to separate data from noise. Can I trust my measurement? When we look at a picture of a surface in three dimensions are we seeing the surface or are we seeing noise in the measurement? Many times there are irregularities that aren’t real, so an engineer needs to ask, ‘can I trust the data?’ That comes with a little practice. There are some easy tools to adopt, however. For example, if you measure a surface left to right, spin the surface around and measure it right to left and see if it’s the same shape. Measure slower, measure faster, measure with different magnifications, but start to try to separate the measurement from the surface.”
Musolff adds, “Also ask, ‘if I see these features in my measurement does that make sense for this surface?’ If you think about a lapped surface, for example, the process shouldn’t generate miscellaneous random high peaks. If you measure that surface and get a lot of random high peaks you are measuring something and it’s not the surface. You are most likely measuring debris. You haven’t cleaned that surface well enough before your measurement. So use logic. Is what I’m seeing and how this part was made really making sense when viewed together? The question of whether you can believe what your instruments are telling you brings up the whole question of uncertainty. Do you have noise or other factors coming into your equipment that is having an appreciable significant impact on your data? There are methods to measure the uncertainty of your system, ‘how much error can there be?’, ‘how wrong can my answer be?’ These aren’t often well understood or well applied, so this is another area that people should become more familiar with.”
Malburg concludes, “The key is to look at your surface as a surface with a well-scaled profile graph and a nice 3D rendering that you can move. Not just a static picture but using the ability to spin your data around and see how features relate to each other is the most powerful tool we have today. I often struggle when a company approaches me and says ‘here’s some data for our surfaces that aren’t working’ and they give me a list of numbers not pictures. Not data sets that I can look at, but instead a column of RA roughness values. Such numbers aren’t descriptive. An analogy I love to use is I could come home from a concert and tell you it was 105 decibels. But so is a fire truck. The best advice is to go to the concert, be there and listen to it. Or in the case of surfaces, the best advice I can give is to start with a picture, look at the surface, spin it around, scale it up, scale it down, then start filtering your way into the data to see which wavelengths are present, which shapes are present, and work your way in from a knowledge of function. How does this shape interact with another shape? Not what is my number? So being aware that surfaces are not numbers, but instead surfaces are shapes and incorporating shape information into conversations through graph plots and models is a game changer. It is the biggest benefit we can give people in our field.”

