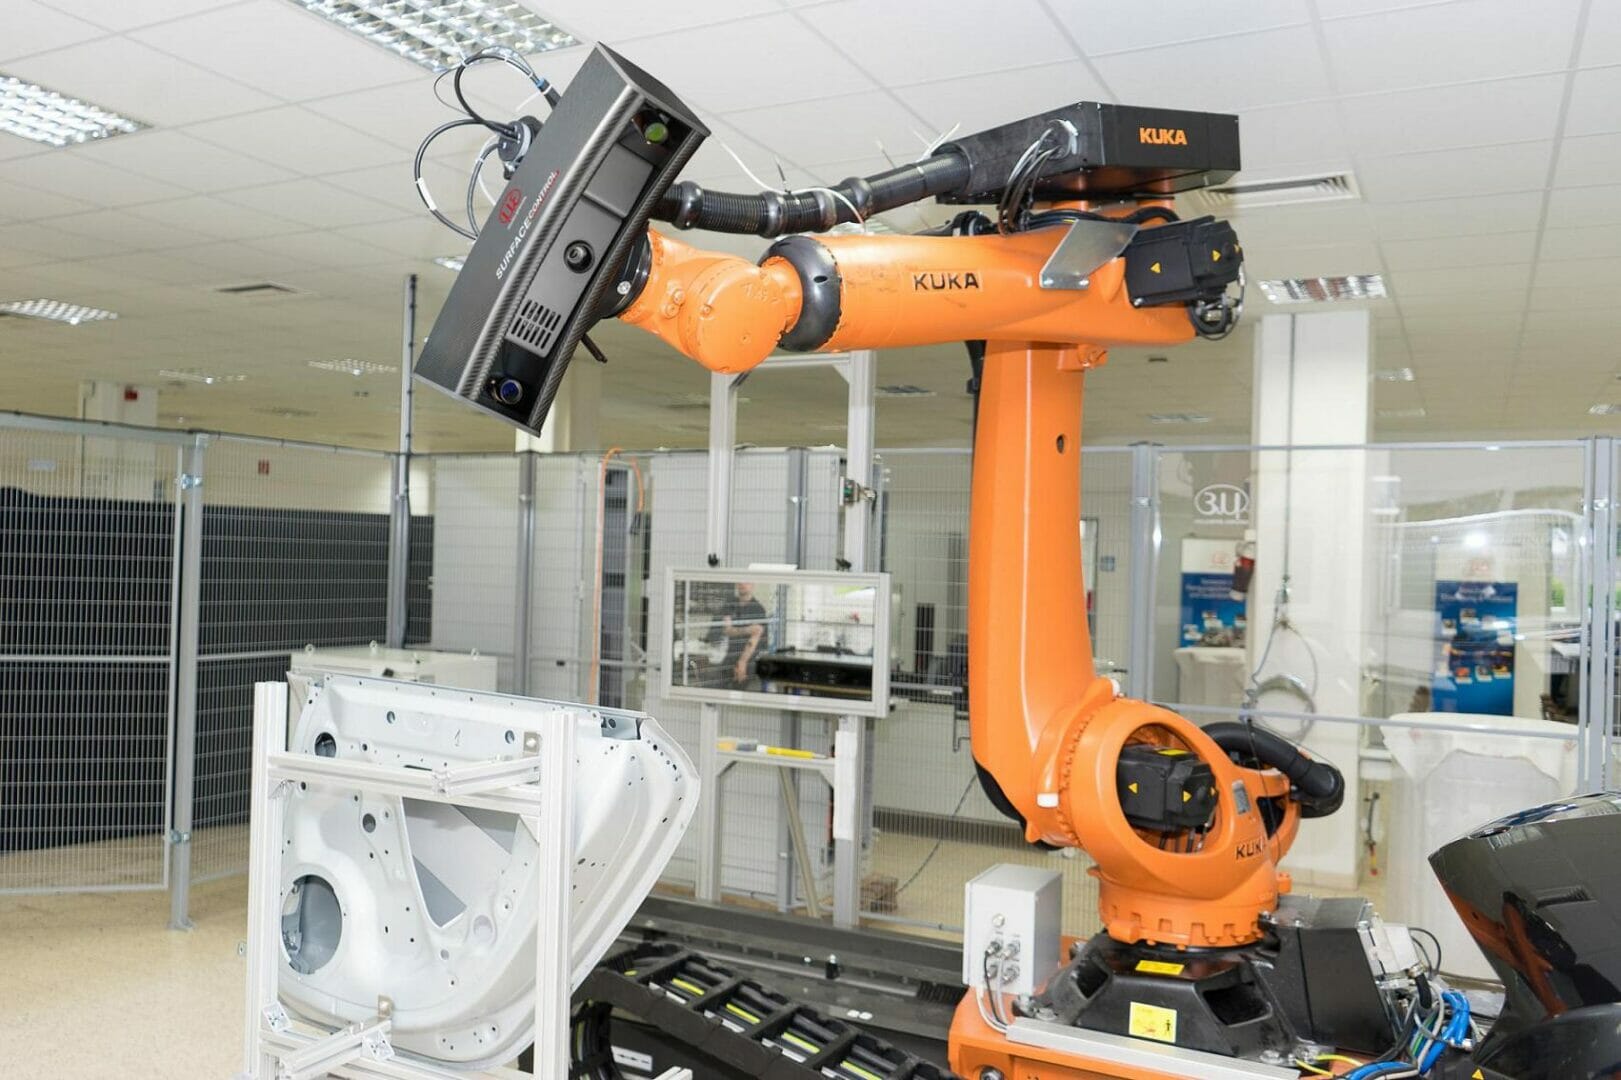
Precision sensor manufacturer Micro-Epsilon has launched a 3D non-contact surface inspection system for defect detection and for inspecting the aesthetic appearance of non-reflecting (matt, unpainted, plastic and bare metal) surfaces. The turnkey system enables fast, reliable 100% surface inspection and can be integrated directly into processing/assembly lines or on robots.
The new surfaceCONTROL system from Micro-Epsilon system is based on the principles of deflectometry and fringe projection, which enables even the smallest of surface defects to be recognised reliably, as well as the inspection of surface aesthetics.
surfaceCONTROL complements the company’s existing reflectCONTROL 3D surface inspection system, which is already being used by automotive vehicle manufacturers worldwide including the likes of Daimler, BMW and Honda. Whereas reflectCONTROL is designed for the inspection of shiny, reflective, painted surfaces only, surfaceCONTROL measures against non-reflective surfaces such as matt, plastic, unpainted and bare metal surfaces, making it suitable for automotive press shop and body-in-white inspection. However, other industries where high quality surface finish and consistency are important such as aerospace manufacturing will also benefit from the system.
surfaceCONTROL is designed for the inspection of diffuse surfaces such as metallic surfaces (e.g. uncoated, electroplated, EPD), plastic surfaces and ceramics. The sensor, which is based on the fringe projection principle, scans the surface and generates a 3D point cloud. This point cloud is subsequently evaluated using specially developed tools in order to recognise extremely small defects and discontinuities on the surface. Sensors with different measuring ranges, areas and resolutions are available to suit any application.
Digital stone
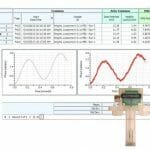
surfaceCONTROL scans the surface of the car body components with a 3D sensor in a few seconds and offers the detection and evaluation of local defects. A digital stone, for example, is used for the analysis. This block is moved over the 3D-data of the surface like a physical block. The length and direction of the block is adjusted according to the shape of the surface. The result is the DefectMap – a graphical representation of the defect with precise information about the height and depth. The determined values can be used for an automatic ‘OK/NOK’ quality control decision.
surfaceCONTROL comprises a 3D smart sensor and two optional software packages. The new 3D sensor achieves significantly higher inspection speeds, together with increased measurement accuracy by using a fast projection unit and new cameras. The modular design of surfaceCONTROL enables the system to be installed both offline (fixed mount) and as an in-process inspection (robot-mounted) system. The technology is already being used by automotive companies to inspect internal vehicle components such as airbags, dashboard consoles and instrument panels.
The sensors are available for measurement areas of 290 x 210mm2 up to 570 x 430mm2. The sensors detect a surface within typically 0.5 seconds per measurement area. The achievable lateral resolution is between 0.25mm for small areas and 0.5mm for the largest area. This means that surface deviations from 5µm in height can be detected reliably. The depth of the measurement area of between 150mm and 300mm also enables reliable detection of zones with a strong curvature. By using planning software based on CAD data, larger test objects are separated into several measuring positions that are approached one after another. The system is designed in such a way that several robots can operate in one cell on the same test object in order to adapt inspection times to suit production cycle times.
Inspection of large components
Three different versions of surfaceCONTROL are available. surfaceCONTROL Robotic is for the inspection of large components. By mounting the sensor head to a robot arm, the system can be adapted very quickly to different inspection applications. All six degrees of freedom of the robot are available. Depending on the requirements, a robot with a specific radius can be selected. If the component is also positioned on a rotary table (i.e. as the seventh axis) it can be turned towards the sensor in such a way that the projection of the robot can be reduced. With surfaceCONTROL Robotic, the complete inspection of large components using only one sensor is possible.
Mobile inspection system
surfaceCONTROL Mobile is the ideal solution for surface inspection of components in different locations. This portable system, which comprises of a laptop and a sensor mounted on a tripod, can be safely transported to its destination in a carrying case. The standard measuring surface is approx. 410mm x 300mm.
Inspection of small test pieces
surfaceCONTROL Compact is available for the inspection of small test pieces whose dimensions are up to approx. 200mm x 300mm. The sensor system is integrated into a protective enclosure/cabinet. The components to be inspected are introduced to manually or automatically into the system. surfaceCONTROL Compact is ideal for inline inspection of injection moulded or die cast components.
A challenge for many industries
The perceived quality of smooth, defect-free surfaces is determined by the look and feel, colour and shape consistency of the surface. High quality finished surfaces are therefore a challenge for many industries, not just automotive. Aerospace components, domestic appliances, entertainment devices and consumer electronics also require high quality finished surfaces.
Although inspectors are able to recognise a high proportion of surface defects reliably and quickly, visual evaluation is often subjective and depends heavily on several factors, including tiredness, lack of concentration and varying light conditions. The aim of surface inspection is to achieve an objective, reproducible evaluation of surface deviations in order to quickly and reliably make decisions with respect to component tolerances.
Aerospace
Flawless surfaces with a uniform appearance are equally important in the aerospace industry. World-class inspection services are therefore needed, whereby small bumps and dents caused during fuselage mounting are only recognisable after the painting process and often lead to complaints during customer acceptance tests. Furthermore, flush rivet heads and the smallest possible rivet indentations in the outer skin of the aircraft are technically and aesthetically critical. In addition to versatile applications on the outer skin of an aircraft, the interior also offers a variety of potential applications including the inspection of flaps on hand luggage compartments, armrests and wall coverings.
Consumer electronics
Sophisticated smartphones, tablets and notebooks not only stand out as versatile, technical equipment but also due to their high quality housings and finish. In order to reduce weight and materials, the wall thickness is often reduced to a minimum. This could cause slight sink marks and other discontinuities on the surface, which become visible under certain lighting conditions.
Domestic appliances
An increasing number of sophisticated household appliances are now designed and equipped with high quality surfaces. For example, freestanding refrigerators are often a decorative eye-catcher in a modern kitchen. Washing machines also match modern interior designs with their flawless, attractive appearance. This is why an immaculate surface for domestic devices is becoming increasingly important.
For more information on the surfaceCONTROL system, please call the Micro-Epsilon sales department on 0151 355 6070 or email [email protected]


