Optical Metrology systems have advanced significantly in the last 20 years, at the start they were susceptible to surface reflectivity issues, sensitivity to ambient light conditions, lower accuracy, and sometimes higher initial cost. Optical metrology now offers several advantages over tactile metrology, which involve the use of physical contact probes to measure the geometry of objects. These advantages are especially pronounced in modern manufacturing and quality control processes where such systems can be integrated into production.
There are different types of Optical Metrology using lasers, structured light or cameras but in this case, we are referring to systems using Focus Variation as the operating principle.
As there is no physical contact between the measured object and measurement system there is no risk of surface damage. This is particularly beneficial for delicate, soft, or flexible materials that could be deformed or damaged by tactile probes. This can also be true with hard objects where, for example, a tactile surface measurement system can scratch a surface.
The speed of data acquisition is much faster, and its measurement point density is much denser, these systems can capture millions of data points in seconds which would be impossible with a tactile probe that can only capture one measurement point per touch of the probe. This leads to the additional advantages of high accuracy and high throughput which is particularly useful in production lines where speed and accuracy are important factors.
The ability of an optical system to capture a large area in high resolution is also a significant advantage. As it enables a 3D model of an area to be captured it can easily measure 3D form and freeform surfaces with many millions of data points with measurement, up t 500 million in a large area, with a vertical resolution of as low as 20nm, clearly it would be impossible to measure to this level with a single point probe which are available down to 0.3mm. Also, the latest versions of instruments can be used for dimensional measurements as a normal CMM with length measuring deviation of E=(0.8+L/600) µm.
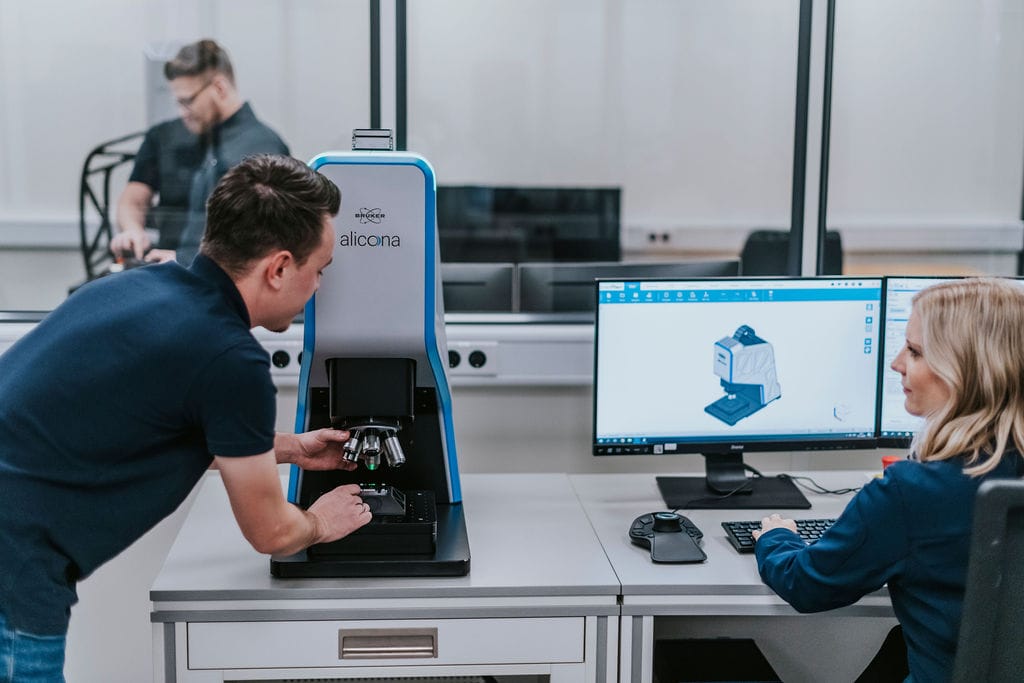
The extremely dense data also allows the measurement sensor to be used for line based and areal based surface finish measurement (roughness). The areal based 3D measurement provides detailed surface characteristics that is significantly related to the whole surface rather than a small narrow line in 2D.
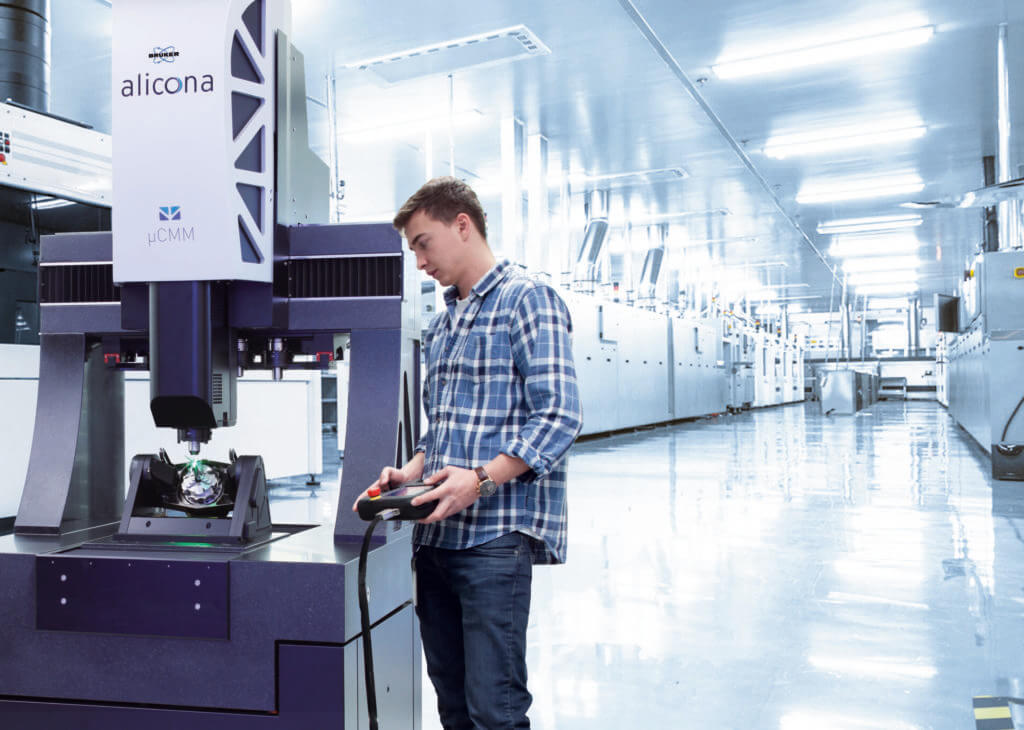
Examples of focus variation products include the Bruker Alicona FocusX and µCMM. The FocusX is a bench mounted system and the µCMM is a floor standing instrument both use Advanced Focus Variation as the measurement principle. With Advanced Software Integration: these systems provide data processing, analysis, and visualization, providing comprehensive insights and facilitating automated inspection and quality control processes. They are typically very simple to use and do not require operators with a metrology training to be able to operate the systems.
Bruker Alicona products are available in the UK and Ireland from Optimax Imaging and Inspection www.optimaxonline.com



Leave a Reply
You must be logged in to post a comment.